Using custom rule categories
You can create custom rule categories and assign {ProductShortName} rules to them.
|
Note
|
Although {ProductShortName} processes rules with the legacy |
Adding a custom category
You can add a custom category to the rule category file.
-
Edit the rule category file, which is located at
<{ProductShortName}_HOME>/rules/migration-core/core.windup.categories.xml. -
Add a new
<category>element and fill in the following parameters:-
id: The ID that {ProductShortName} rules use to reference the category. -
priority: The sorting priority relative to other categories. The category with the lowest value is displayed first. -
name: The display name of the category. -
description: The description of the category.Custom rule category example<?xml version="1.0"?> <categories> ... <category id="custom-category" priority="20000"> <name>Custom Category</name> <description>This is a custom category.</description> </category> </categories>This category is ready to be referenced by {ProductShortName} rules.
-
Assigning a rule to a custom category
You can assign a rule to your new custom category.
In your {ProductShortName} rule, update the category-id field as in the following example.
<rule id="rule-id">
    <when>
        ...
    </when>
    <perform>
        <hint title="Rule Title" effort="1" category-id="custom-category">
            <message>Hint message.</message>
        </hint>
    </perform>
 </rule>
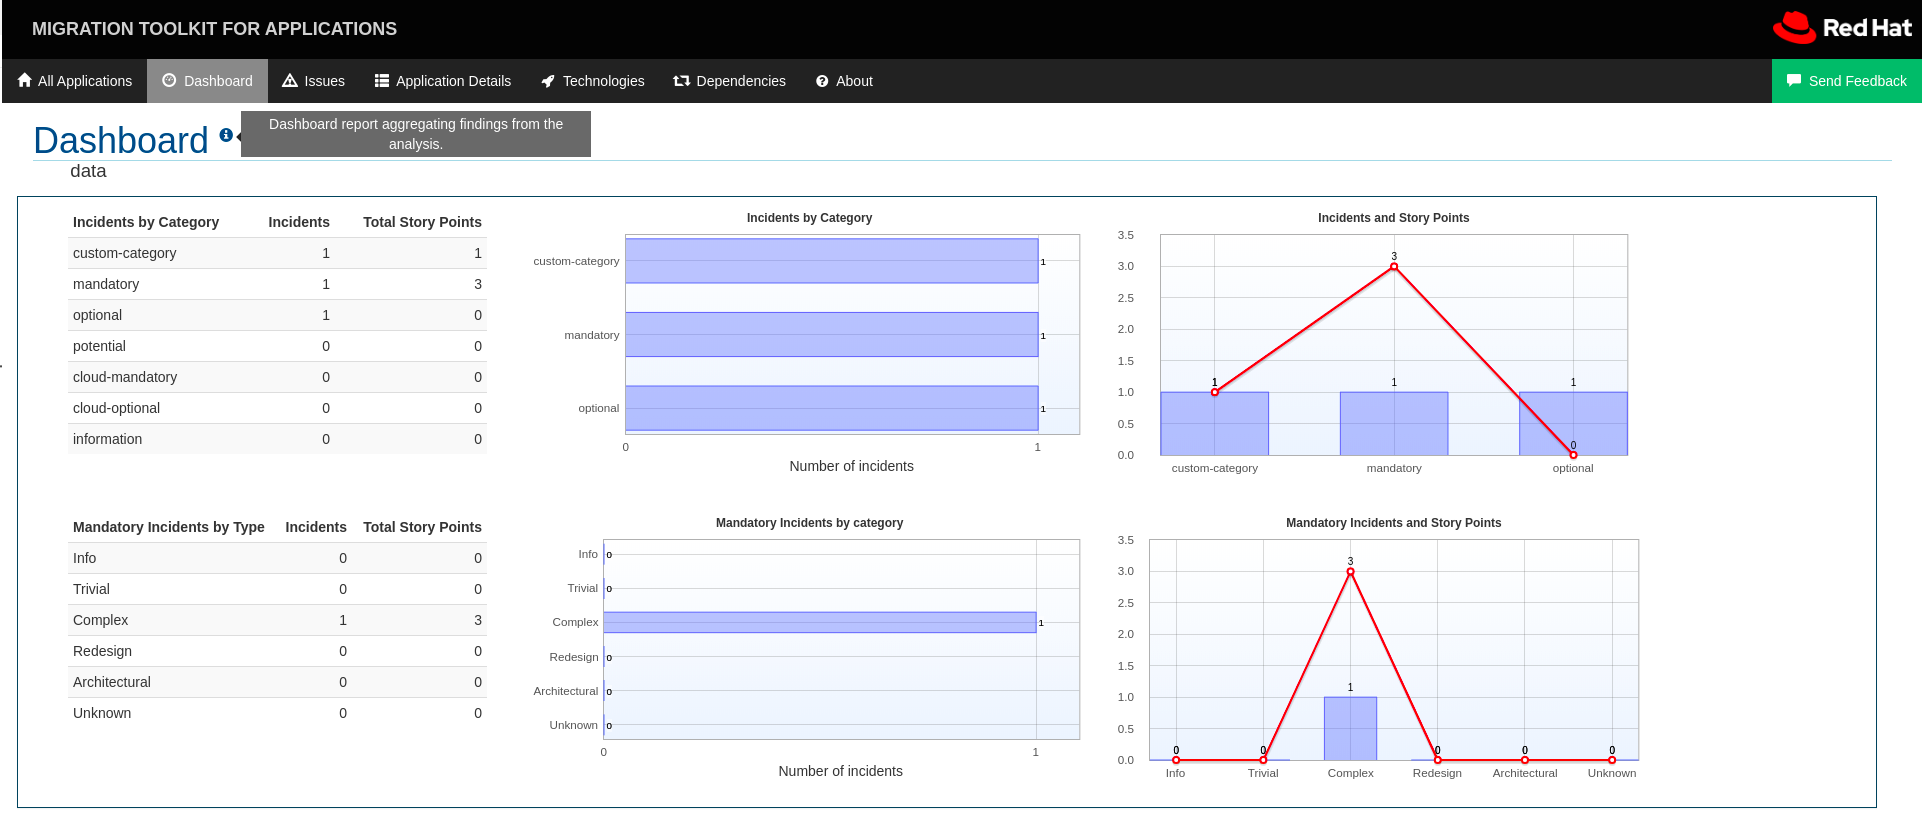
If this rule condition is met, incidents identified by this rule use your custom category. The custom category is displayed on the dashboard and in the Issues report.
